 Skip to content
You need:
- a piece of lino
- lino cutting tools
- ink.
- roller
- something to roll the ink out on
- card
Various companies make starting sets. The one I used is from Eesdee which had everything apart from card in it.
You need an idea. Fairly simple to start off with. You have to work out which bits will have ink and which won’t and make sure that fits what you’re trying to do. Writing will be backwards on the linocut.
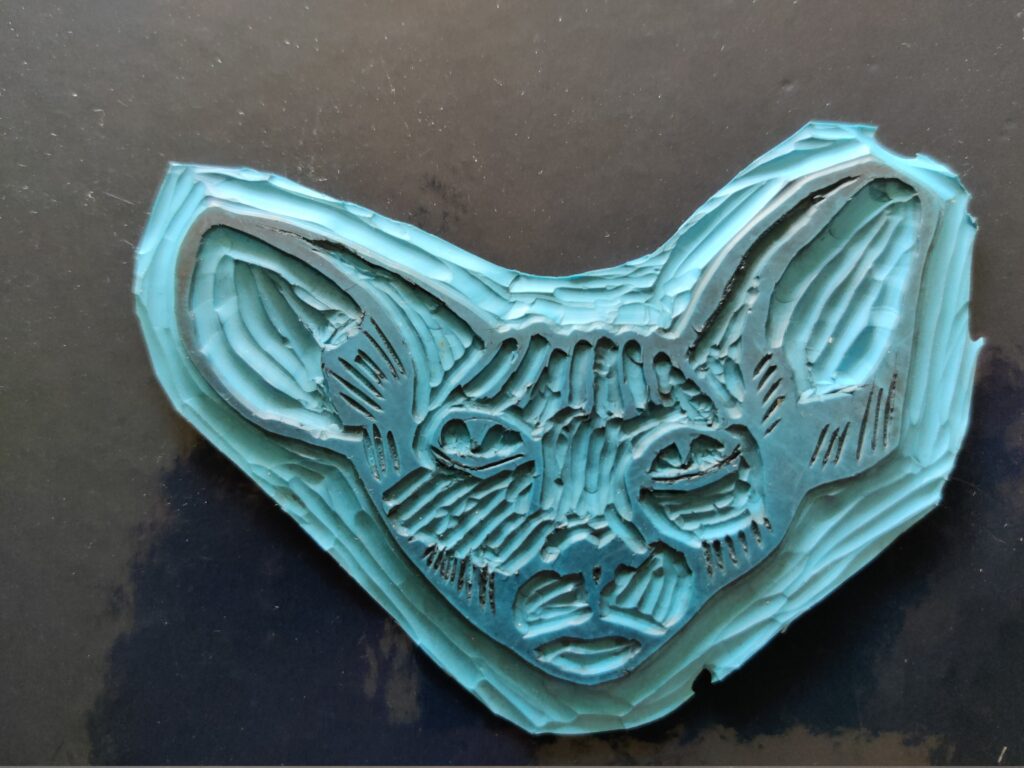
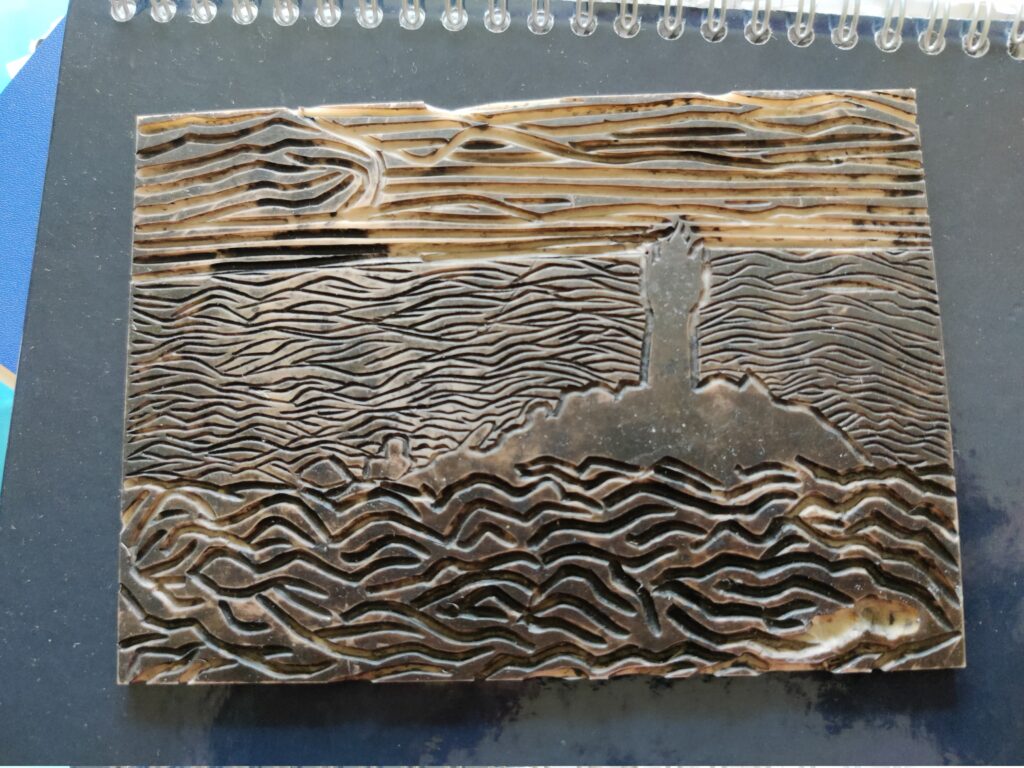
Draw out your picture on a piece of paper and then copy the image on to the lino and then cut it out. Make sure the cuts are deep or they will fill with ink and won’t be shown when you print.
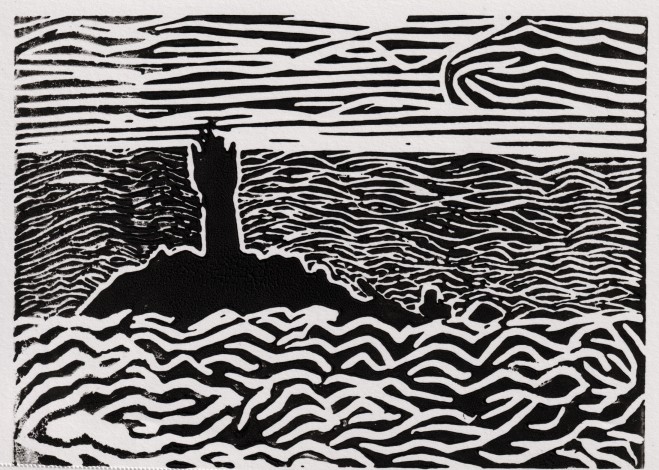
Once you’re happy with the print block you need to ink it up. Put a small amount of your chosen colour on your rolling pad and roll it out into a thin layer. Then roll the ink evenly onto the block making sure to cover everything evenly. Place your paper on top of the block and then firmly run your hand over the paper until you’ve covered the whole area.
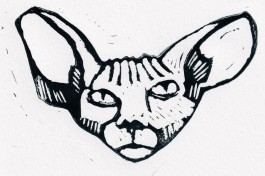
The first couple of images you do in each session will not be great but as you put more ink on they will improve.
Once you’ve finished show your picture off to your friends and your chosen social media site. I use instagram, facebook and pintrest.
Sign up to my news letter and email updates. Return to Homepage
